Photography Guide for Nepal Trekking
Not all places on earth reward a camera the way Nepal Himalayas does. You’ll walk beneath six of the world’s fourteen 8,000-metre peaks, through rhododendron forests, medieval stone villages, and light so dramatic it barely needs editing. But high-altitude trekking is also one of the harder environments to photograph well: batteries die in the cold, weight is precious, dust and moisture attack gear, not all route has power lines, and the best light happens when you’d rather be in your sleeping bag. This guide covers what to bring, how to keep it working, and where and when to point it.
Choosing Your Kit: Weight Is Everything
Every gram you pack, you carry uphill for days. The right camera is the one you’ll actually pull out at 5 am in minus ten degrees, so be honest about your habits.
Smartphone Only
Entirely legitimate in 2026. Modern phone cameras handle Himalayan landscapes beautifully, computational HDR tames harsh mountain contrast, and panorama modes love 360-degree summit views. Add a clip-on polariser, shoot RAW where your phone allows, and bring a power bank of at least 20,000 mAh.
Mirrorless (The Sweet Spot)
A compact mirrorless body with two lenses is the classic trekking setup: a 16-35 mm equivalent wide-angle for landscapes and villages, plus a 70-200 mm or 100-400 mm telephoto for compressing giant peaks against ridgelines – the shot everyone underestimates. If you carry one lens only, a 24-105 mm covers 90% of situations.
Extras Worth Their Weight
- A lightweight travel tripod (or mini tripod) for dawn, dusk, and star shots – the Himalayan night sky at 4,000 m is staggering.
- Circular polariser to deepen skies and cut haze.
- 3-4 spare batteries and a fast charger; lodge charging costs NPR 200-500 per device, so charge batteries, not the camera.
- Plenty of memory cards – you will shoot more than you think, and there’s nowhere to offload.
- Lens cloths and a zip-lock or dry bag for dust and snow.
Cold, Dust, and Altitude: Keeping Gear Alive
Cold is the killer. Lithium batteries can lose half their capacity below freezing, so sleep with your batteries in your sleeping bag, carry spares in an inside chest pocket, and swap them warm. Moving from freezing outdoor air into a warm dining room causes condensation inside lenses – put the camera in a sealed bag before going indoors and let it warm slowly. Trail dust (especially on the Annapurna Circuit’s road sections and the Khumbu’s yak highways) means changing lenses less often, always with your back to the wind. And remember your own altitude limits: above 5,000 m, fiddling with settings in bare fingers is miserable, so learn your camera well enough to operate it in liner gloves.
The Light: When to Shoot
Himalayan light follows a dependable daily script. Dawn is the show: peaks catch alpenglow 20-30 minutes before the valleys see sun, turning Everest, Ama Dablam, or the Annapurnas molten orange while everything below stays blue. This is why trekkers climb Poon Hill and Kala Patthar in the dark. Mid-morning through afternoon brings harsh contrast and, in spring, building haze and cloud – good hours for villages, portraits, forests, and detail shots rather than big landscapes. Late afternoon light warms again, and dusk delivers a second alpenglow round. Autumn (October-November) offers the clearest skies of the year; winter is even crisper if you can handle the cold; spring trades some clarity for rhododendron blooms in the foreground.
Iconic Shots and Where to Get Them
- Kala Patthar (5,545 m), Everest region: the classic sunset/sunrise view of Everest’s summit pyramid.
- Ama Dablam from Tengboche: arguably the most photogenic mountain on Earth, framed by the monastery’s prayer flags.
- Poon Hill at dawn: Dhaulagiri and Annapurna South igniting over a sea of clouds.
- Thorong La prayer flags (5,416 m), Annapurna Circuit: wind-shredded colour against snow.
- Gokyo Ri over the turquoise lakes: the finest panorama in the Khumbu – four 8,000ers in one frame.
- Suspension bridges draped in prayer flags, especially the Hillary Bridge above the Dudh Koshi – shoot trekkers crossing for scale.
- Everyday trail life: yak trains, porters, mani walls, teahouse kitchens. These often outshine the peaks in your final album.
Photographing People: Etiquette First
Nepal’s people are as photogenic as its mountains, but they are people, not scenery. Always ask before photographing someone closely – a smile, a gesture with the camera, and “photo, thik cha?” (photo, okay?) works. Respect a no cheerfully. Be especially careful with children (ask parents), inside monasteries (ask a monk; flash is often forbidden), and at religious ceremonies. Avoid paying cash for photos, which turns portraiture into transaction; buying tea or fruit from someone’s shop and chatting first earns better photographs anyway. If you promise to send a picture, actually do it – collect an address or phone number and follow through.
Composition Tips for Big Mountains
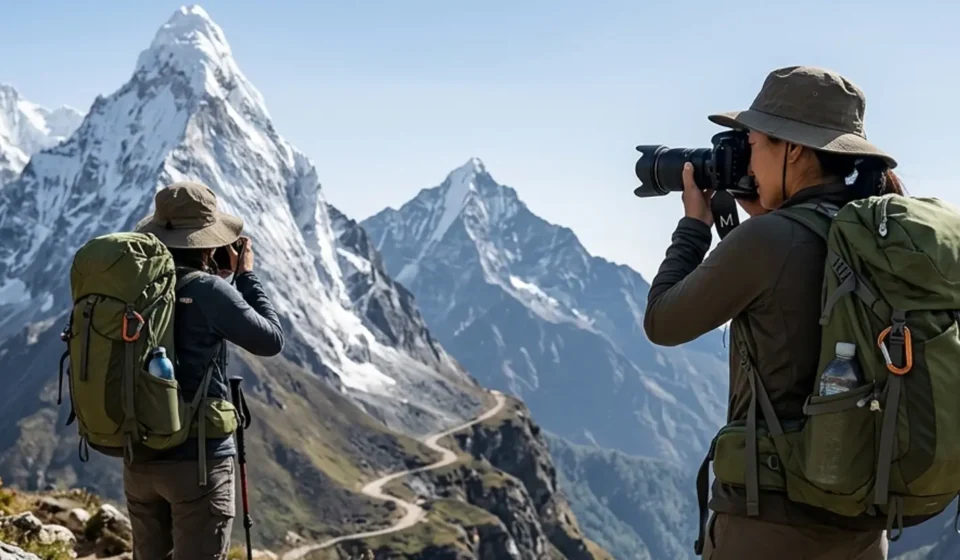
- Scale needs a reference: a trekker, a yak, a lodge roof. Peaks alone flatten; a tiny human makes them enormous.
- Use the telephoto: compression stacks ridgelines and makes 8,000ers loom the way they feel in person. Wide-angle alone shrinks them.
- Foreground is king: prayer flags, mani stones, rhododendrons, frozen streams – anchor the frame, then let the mountains fill the sky.
- Shoot the weather: clouds tearing off a summit beats a bald blue sky. Some of the best frames come minutes after “bad” weather clears.
- Bracket high-contrast scenes and expose for the highlights on snow; blown-out glaciers are unrecoverable.
Storage, Backup, and Power Strategy
There is effectively no cloud backup on trek – Wi-Fi is too slow for RAW files. Carry enough cards for the whole trip and treat them like passports. If you shoot professionally, bring a second card slot camera or a small SSD backup routine at lower lodges with reliable power. Solar panels strapped to packs work but charge slowly; a big power bank charged fully in Kathmandu, topped up in Namche or Manang, is simpler for most trekkers.
Final Thoughts
The best photography advice for Nepal is the oldest: be there for the light. Wake for every dawn, keep the camera accessible on your hip rather than buried in your pack, warm your batteries like eggs, ask before you shoot people, and put the camera away sometimes – a few minutes just watching the alpenglow with your own eyes is part of the assignment too.